Deployment Sections
Workflow IQ Configuration
Welcome to your first deployment set up! This page will provide step-by-step instructions for the Workflow IQ (WIQ) configuration process.
WIQ automates and manages collaboration between Continuous Controls and your teams. The Sandbox Deployment process will open and assign sample tasks to ensure your team is fully integrated with the environment.
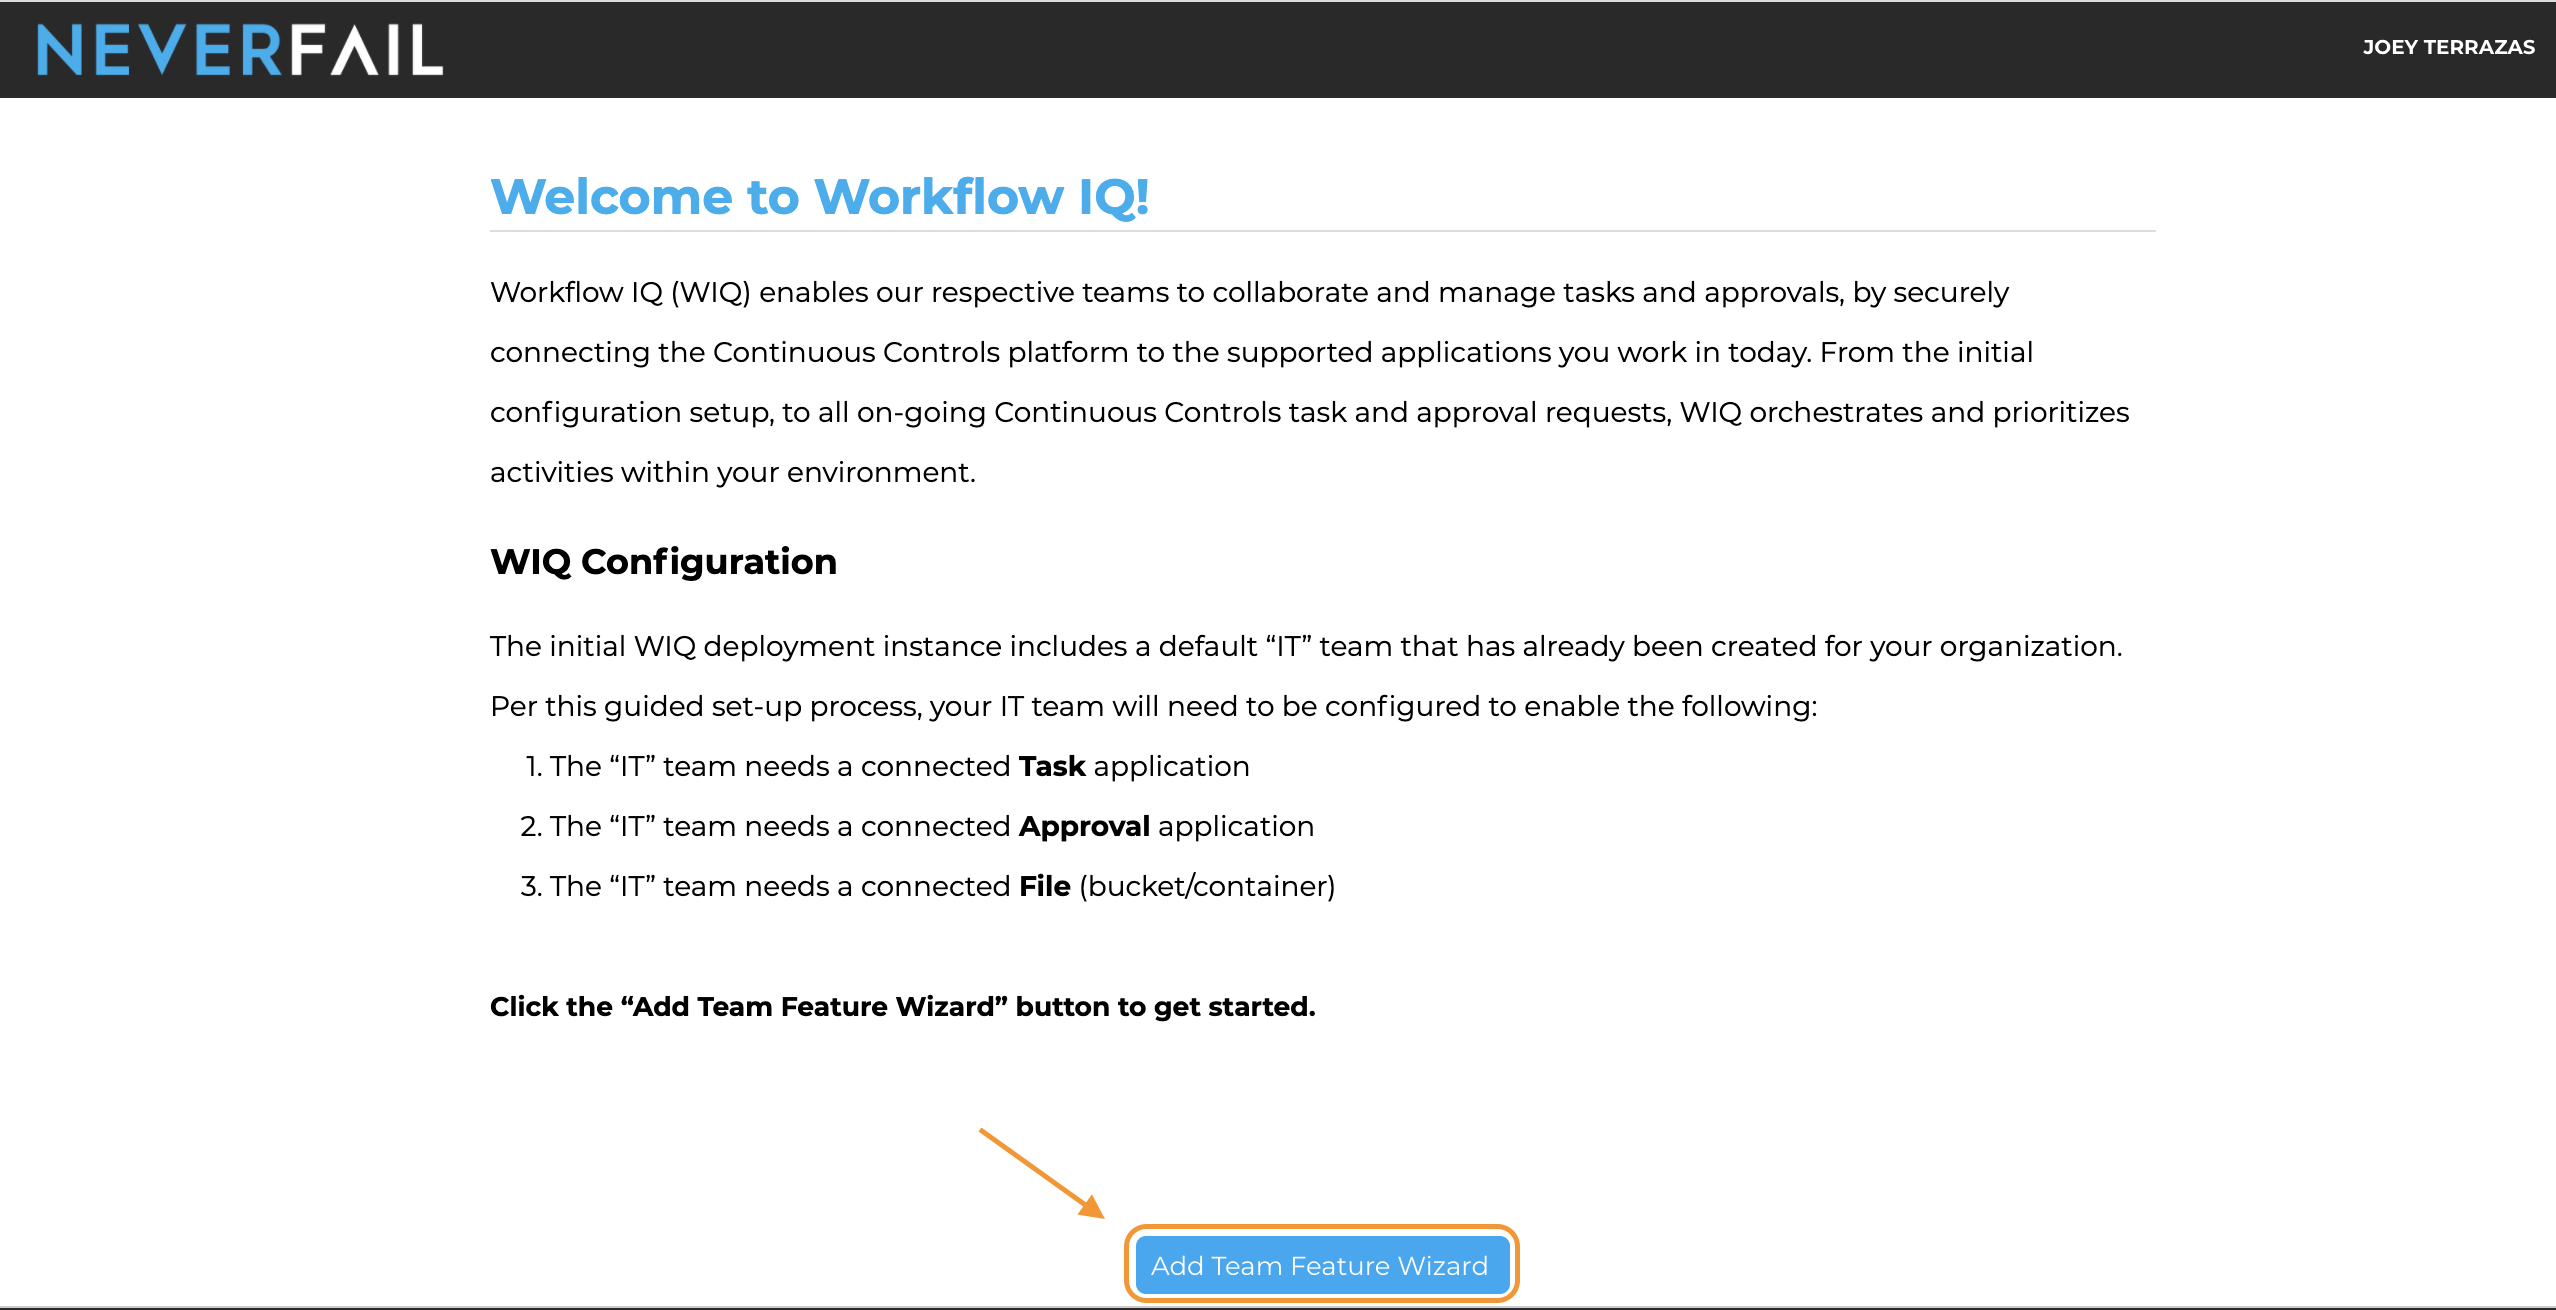
This WIQ instance includes a default “IT” team that has already been created for your organization. As you proceed through the setup process, this team will be configured to enable the following feature requirements:
- The “IT” team needs a connected Task application.
- The “IT” team needs a connected Approval application.
- The “IT” team needs a connected storage File (bucket/container).
The instructions below will walk you through the initial WIQ login and configure your task application connection.
1. WIQ Login
Go to the WIQ URL at:
In the first login window, enter your email address, then select NEXT.
- After, you should automatically be redirected to your identity provider (Amazon, GitHub, Google, or Microsoft) sign-in page.

Sign-in to your identity provider.
You will now be redirected to the WIQ home page.

IF NOT REDIRECTED TO YOUR IDENTITY PROVIDER AUTHENTICATION SCREEN:
- Select your corporate identity provider login option.
(Amazon, Github, Google,or Microsoft ) - After, you should be redirected to the WIQ home page.
2. Add “IT” Team Task Connection
From the WIQ Welcome page, select Add Team Feature Wizard.
(Your default “IT” Team option should already be pre-selected at this point)
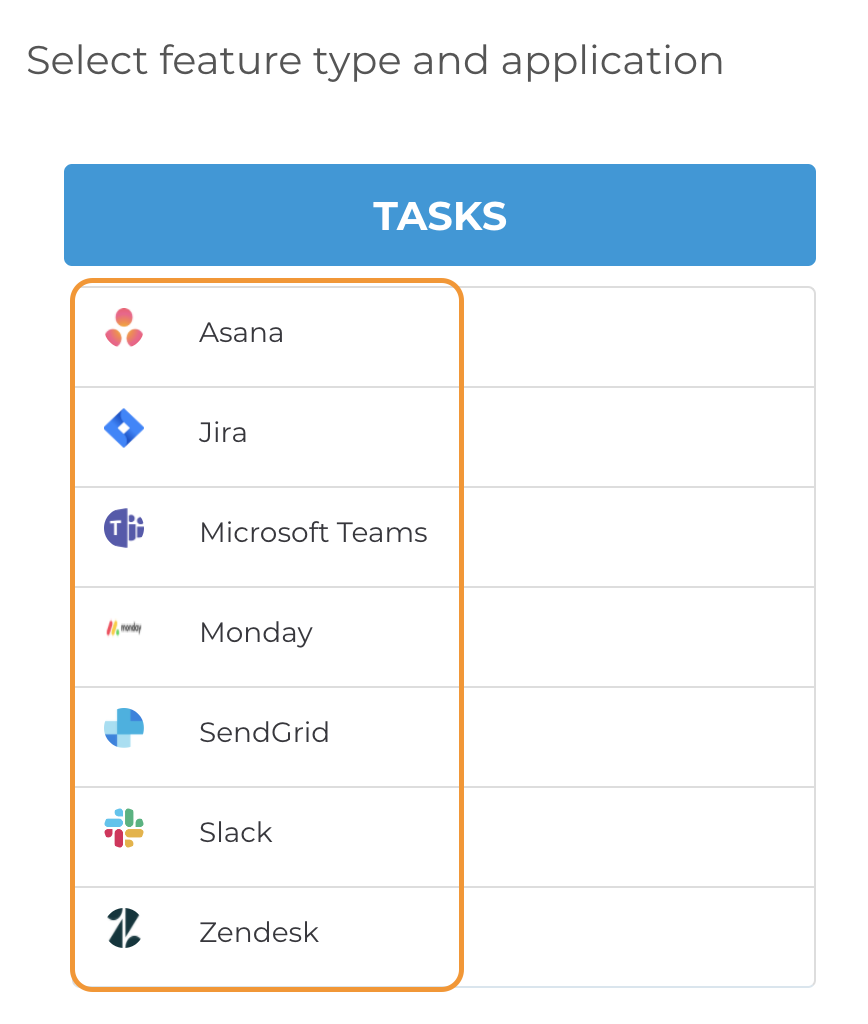
On the next Feature Type screen, under the TASKS column, select the supported task application you wish to configure.
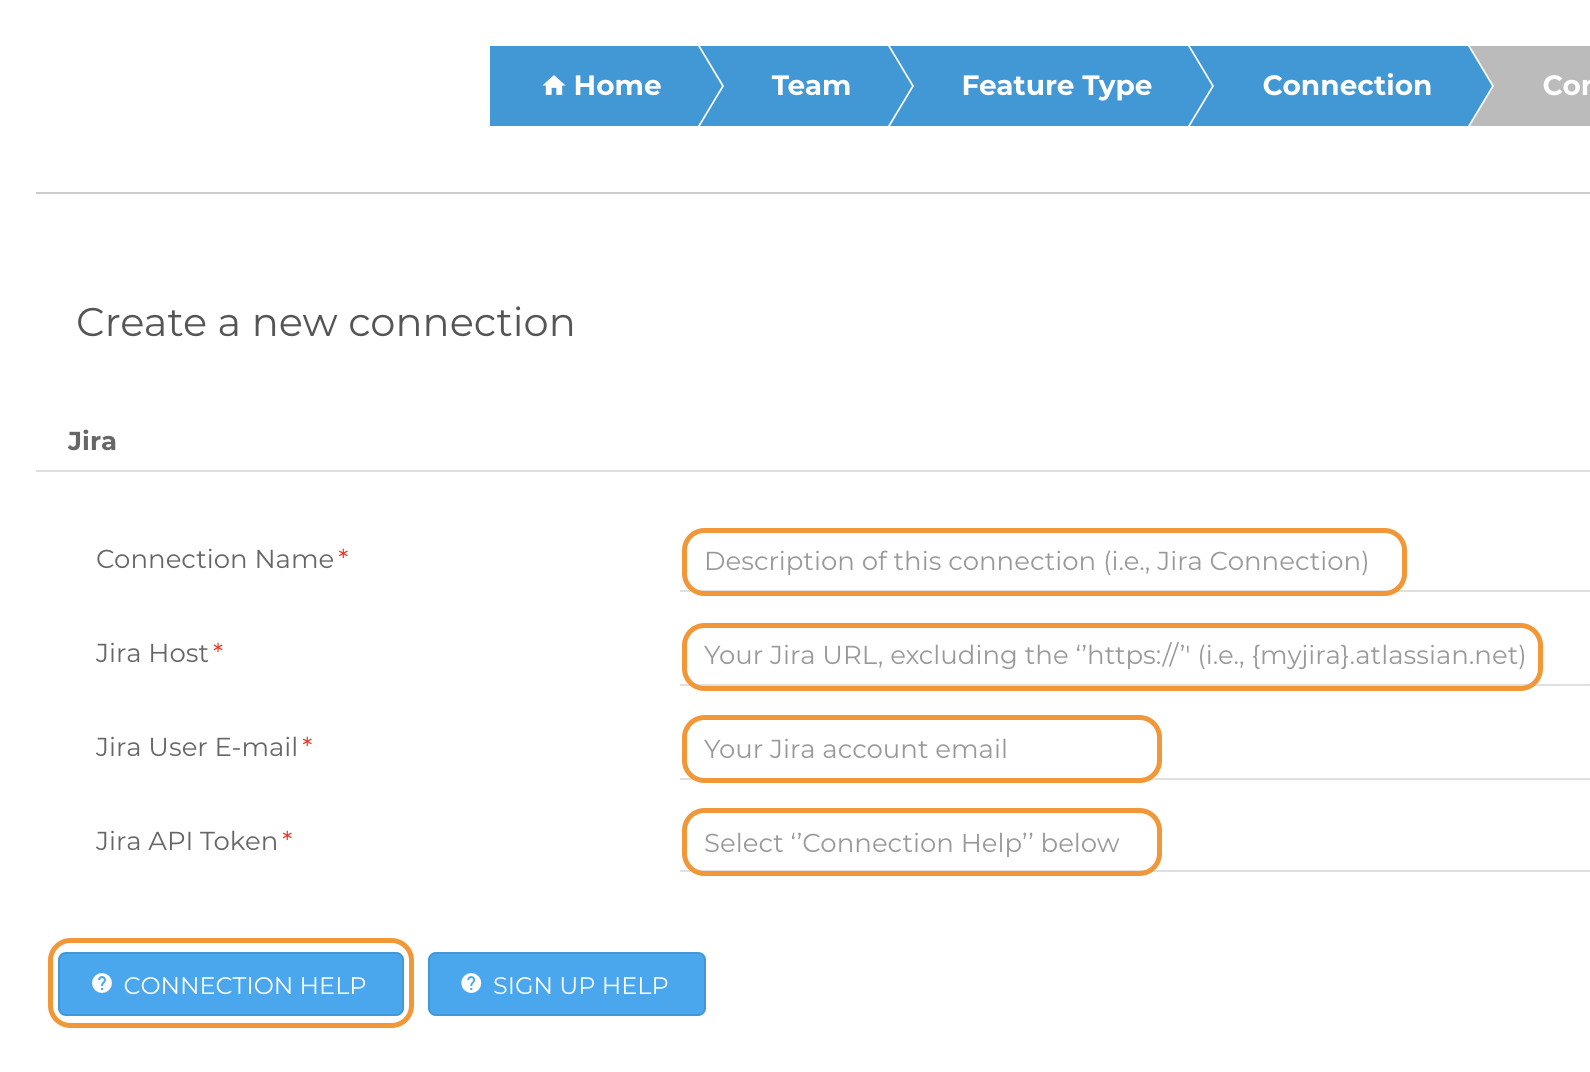
On the next Connection screen, select (again) the task application from the lower/bottom drop-down option to “Select the driver to create a new connection”.

From this point forward, you will follow the onboard instructions in WIQ, provided in the following:
- Default field descriptions
- “Connection Help” button